Accurate kitchen design measurements give your designer a clear understanding of the room. When the service is delivered online, the measurements and photographs you provide help your designer build that understanding before arranging the cabinets.
You do not need a finished kitchen plan to start a conversation. But gathering the room information carefully makes the design stage more useful and reduces uncertainty later in the project.
Your kitchen design measurements checklist
Use millimetres throughout. Label the walls on a simple sketch so photographs and dimensions can be matched to the same part of the room.
| What to record | Details to include |
|---|---|
| Room shape | Every wall length, recess, projection and angled section. |
| Doors | Opening and frame dimensions, distance from corners and opening direction. |
| Windows | Width, opening height, distance from corners and floor-to-sill height. |
| Ceiling | Height and the position of beams, slopes or bulkheads. |
| Fixed features | Radiators, boilers, boxed-in pipes and other obstructions. |
| Services | Known water, drainage, gas and electrical positions; identify proposed changes separately. |
| Appliances | Selected model numbers and installation specifications, where available. |
| Photographs | Whole-room views plus details of openings, fixed features and adjoining spaces. |
A simple way to label one wall
For a wall containing a window, record the distance from the left corner to the opening, the opening width and the distance from the opening to the right corner. For example: 900mm + 1,200mm + 1,500mm = 3,600mm. Check that this agrees with the overall wall measurement. Record the frame, sill height and other projections separately.
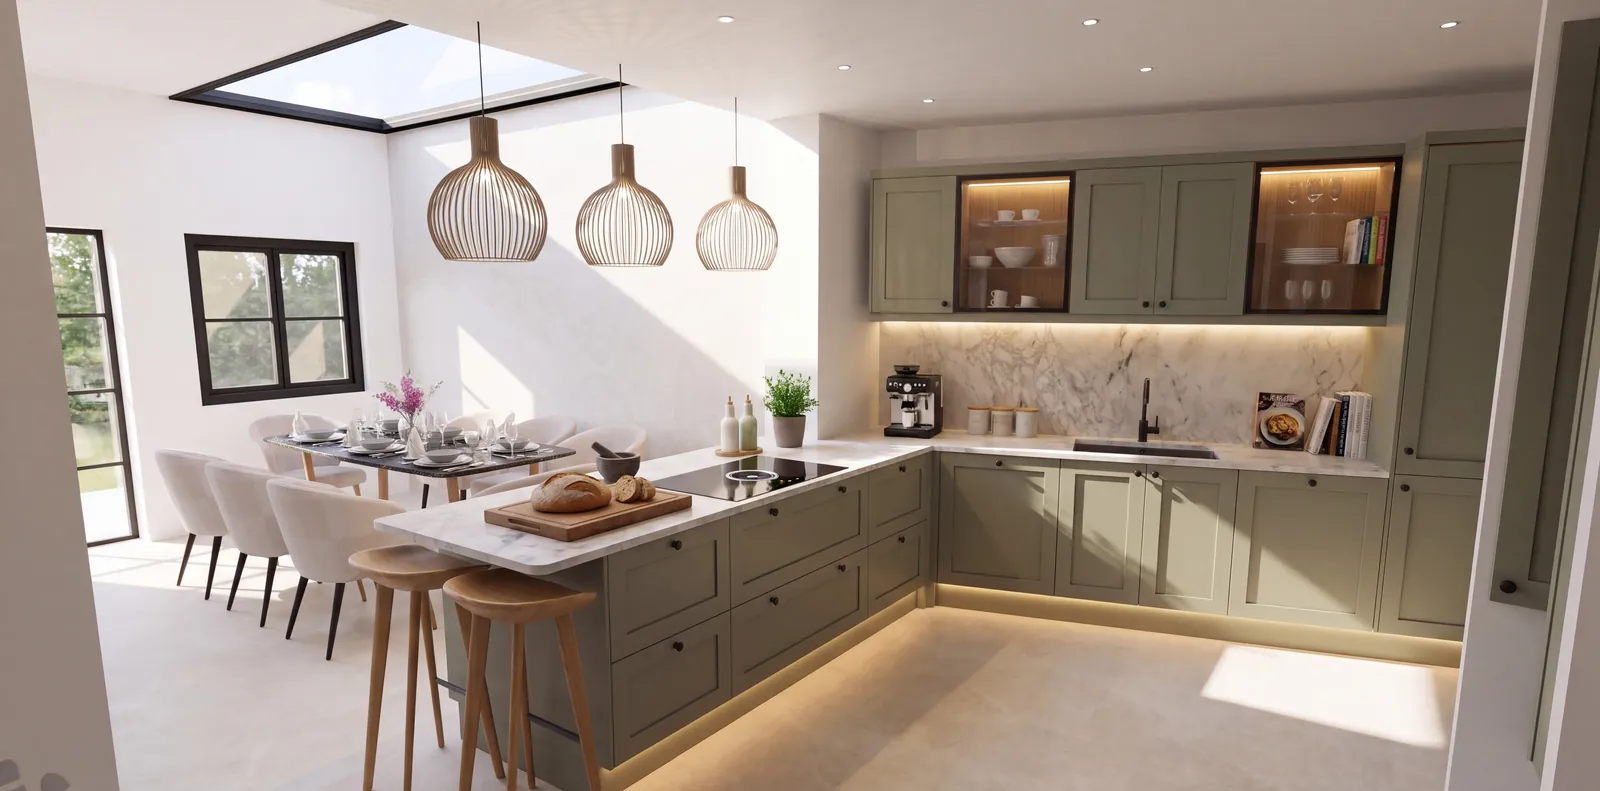
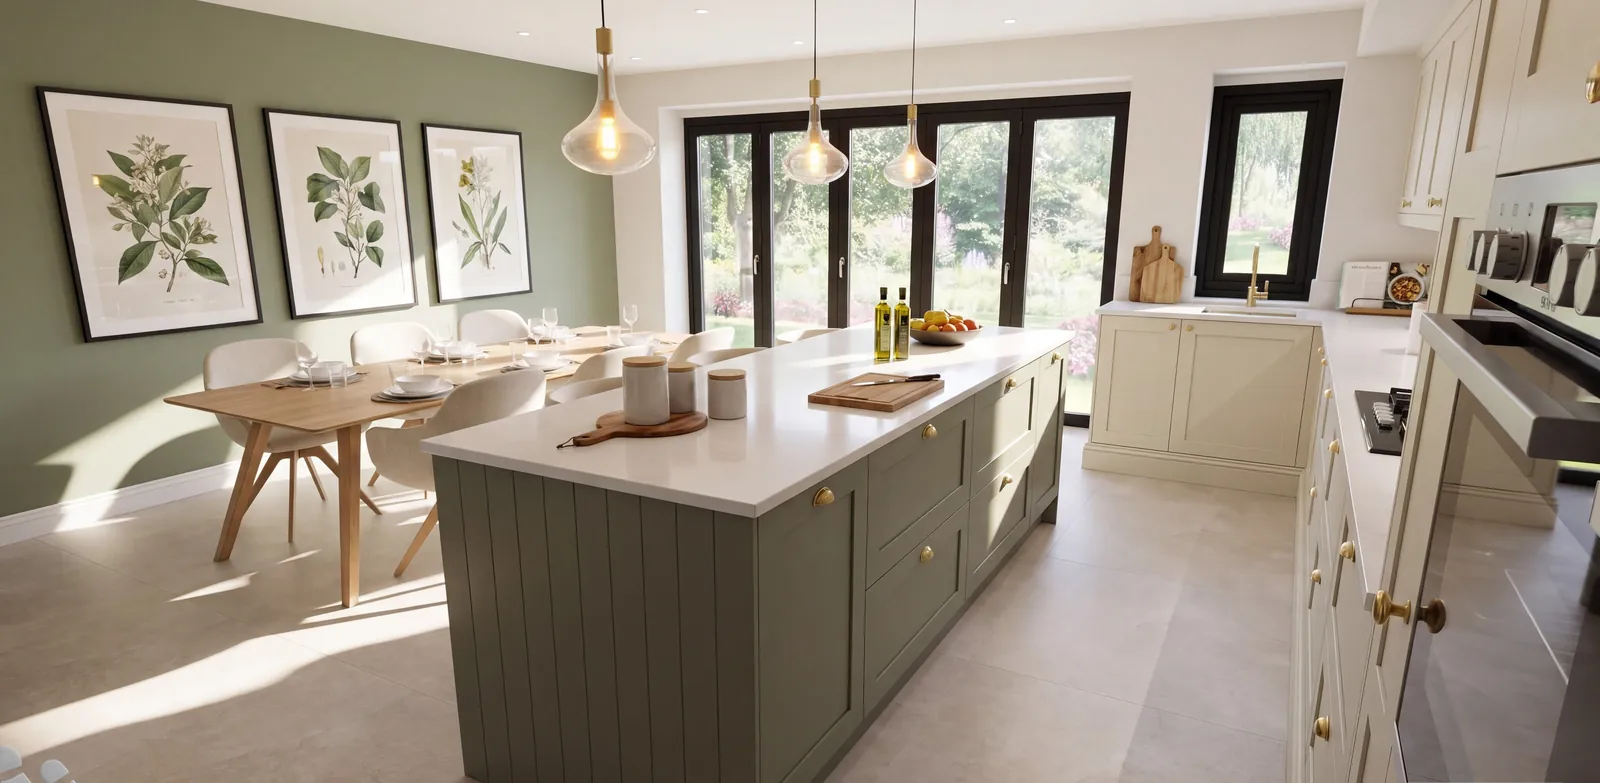
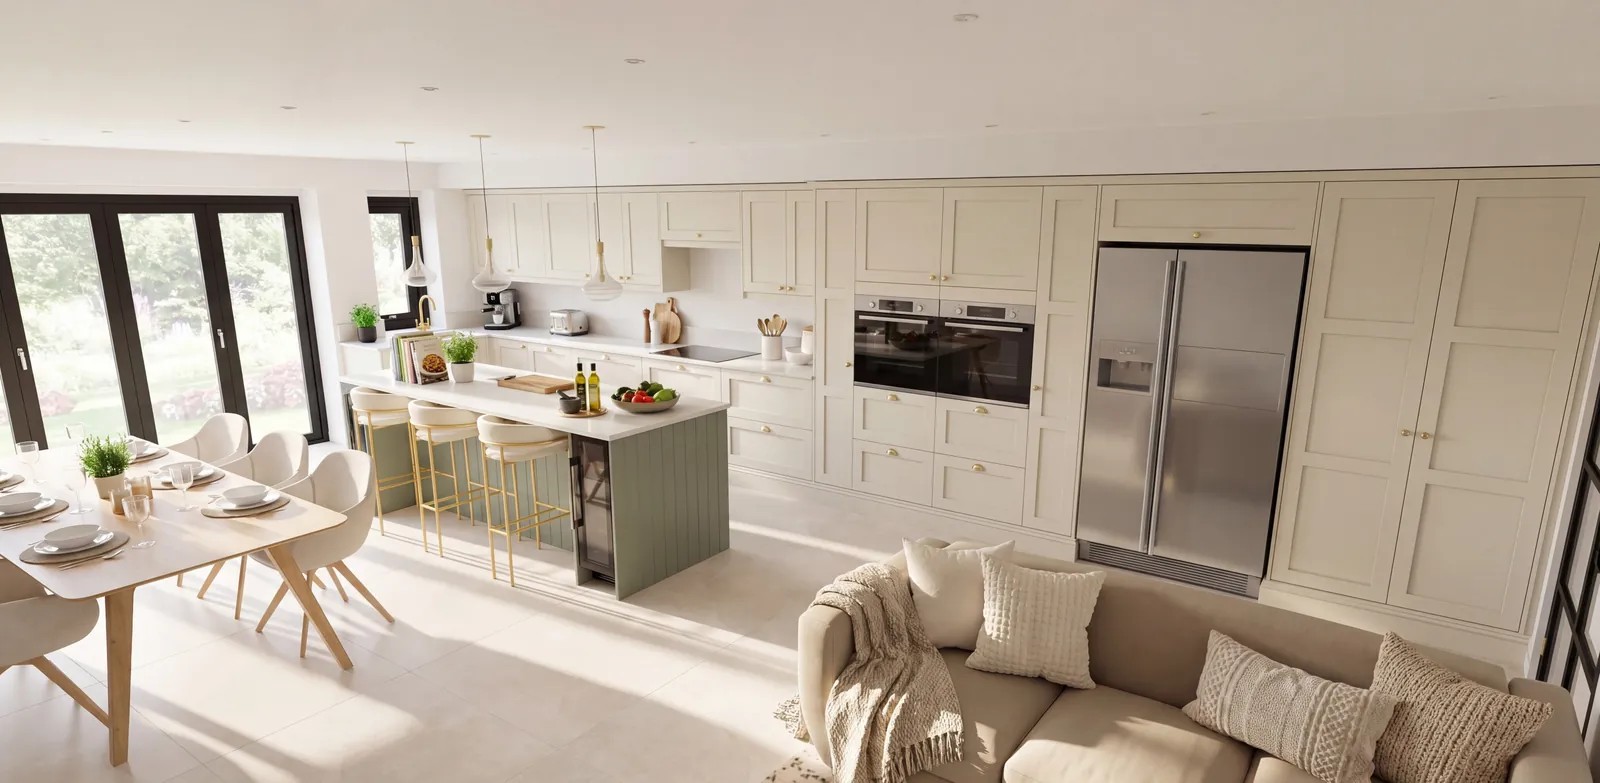
This example explains how to organise the information. It is not a measurement of the kitchen shown in the render. Flag discrepancies instead of altering figures to make them agree.
Begin with the overall room shape
Make a simple drawing of the room and record each wall length. Give walls or corners labels so it is clear which measurement belongs where. An irregular room needs more information than a rectangle: show recesses, projections and angled walls.
Keep units consistent and make the drawing readable. If measurements do not seem to agree, flag the uncertainty rather than adjusting them to make the sketch look tidy. Your designer can explain what needs clarifying.
Position doors and windows
Record the size and position of each opening, including its distance from the relevant corner. Note which way doors open. Include garden doors and openings to adjoining spaces, because they influence circulation and where cabinetry can sit.
For windows, the sill height and overall opening height are useful alongside the width. Photographs help explain handles, trim and other details that may affect the design. Do not assume that an opening’s position can be inferred from one photograph.
Include ceiling heights and changes in level
Record the ceiling height and identify any areas where it changes. Sloping ceilings, beams and bulkheads can affect tall cabinetry and the appearance of the room. If the ceiling is not level, that needs to be understood before final installation decisions.
Photograph these features and relate them to the sketch. A designer needs to understand where they sit, rather than simply know that a beam exists somewhere in the room.
Show fixed features and existing services
Mark radiators, boxed-in pipes, structural projections and other fixed features. Explain which are staying and which might move as part of the project. Distinguish a confirmed change from an idea that still needs advice.
Identify existing appliance and service positions where known. Changes involving gas, electrics, water or drainage need appropriate professional input. This guide is about providing design information, rather than instructions for altering services.
Photograph the room from several viewpoints
A few clear photographs from different corners are generally more informative than a collection of close-ups alone. Include the overall walls, openings and any unusual features. Then add detail photographs where something needs explanation.
Try to make it easy to connect each image with the sketch. Labels or a short note can prevent confusion. If the room extends into a dining or living area, include those relationships too.
Explain proposed building work
If your project includes an extension or structural changes, provide any relevant architectural plans and explain the current stage. Confirm which drawings are being used and whether dimensions are proposed or verified on site.
Tell the designer when decisions remain unsettled. Moving a doorway or changing an opening may alter the kitchen layout significantly. It is better to understand that dependency at the beginning than to develop a detailed arrangement around an assumption.
Bring information about the appliances
If appliances are already selected, provide the model details and current installation information. If you are still choosing, explain the types and broad requirements you have in mind. The cabinet arrangement needs to account for the actual specification before ordering.
Appliance installation requirements should be checked with the relevant fitter or installer. A cabinet that appears to fit around an appliance in a visual does not establish ventilation or service compliance.
Keep final verification separate from the first sketch
Your initial information helps develop a design. Before placing a kitchen order, your fitter should verify final room dimensions and the relevant installation requirements. Online design is based on supplied information and does not replace a site survey.
If you are unsure what to send, start with a conversation. We can explain the information needed for your particular room and discuss whether the Kitchen Design or Design + DIY Basket package is appropriate.
Request a free initial phone conversation and tell us where you are with the project. You can then gather the right information with a clearer understanding of the next step.