A DIY Kitchens island layout needs to work around people, open doors and everyday movement, as well as looking right. It can provide preparation space, storage, seating and a place to gather. But fitting an island into a drawing is different from making it comfortable to use in everyday life.
If you are planning to buy from DIY Kitchens, start by asking what you want the island to achieve. The answer gives you a better basis for its size, position and relationship with the rest of the room.
Give the island a clear job
Do you want a broad, uninterrupted preparation surface? More storage? Informal seating? Perhaps you want the person cooking to face family or guests. An island can serve several purposes, but each introduces different demands.
A sink or hob brings service and installation requirements into the design. Seating needs space for people as well as stools. Storage needs doors and drawers to open usefully. Work out those priorities before committing to a particular shape.
Check the space around your DIY Kitchens island layout
The working space around an island is as important as the furniture itself. Think about the routes between the kitchen entrance, food storage, appliances and dining area. Consider which routes are likely to be used while someone is preparing a meal.
Mark door and drawer openings on the plan. Picture someone loading the dishwasher or standing at the oven. A gap that looks generous with everything closed may feel quite different when the kitchen is in use.
There is no single dimension that resolves every room. The required clearances depend on the layout, appliance specifications, household needs and installation requirements. Discuss these with your designer and fitter rather than treating a generic measurement as a guarantee.
A worked island layout example
Use this as a way to understand the calculation, not as a recommended minimum for your kitchen. Suppose the usable room width is 3,600mm, an opposing cabinet run and its finished worktop occupy 650mm, and the proposed island’s full worktop depth is 950mm.
| Part of the room | Illustrative width |
|---|---|
| Cabinet run including finished worktop | 650mm |
| Working gap | 1,100mm |
| Island including finished worktop | 950mm |
| Remaining gap to the opposite wall | 900mm |
| Total | 3,600mm |
The arithmetic fits, but that does not establish that the design works. Does the 900mm side contain stools or a route through the room? What happens when the dishwasher opens into the working gap? What space remains at each end of the island? Those questions can change the answer.
DIY Kitchens’ published island guidance uses 900mm as a general minimum and 1,200mm as an ideal gap from adjacent base cabinets or walls. Treat that as a starting point for discussion: seating, access needs, appliance openings and your actual layout still need individual assessment.
Measure from the finished edges of worktops and other projections, rather than cabinet boxes alone. Your designer and fitter should check the complete proposal before ordering.
Include the people sitting at it
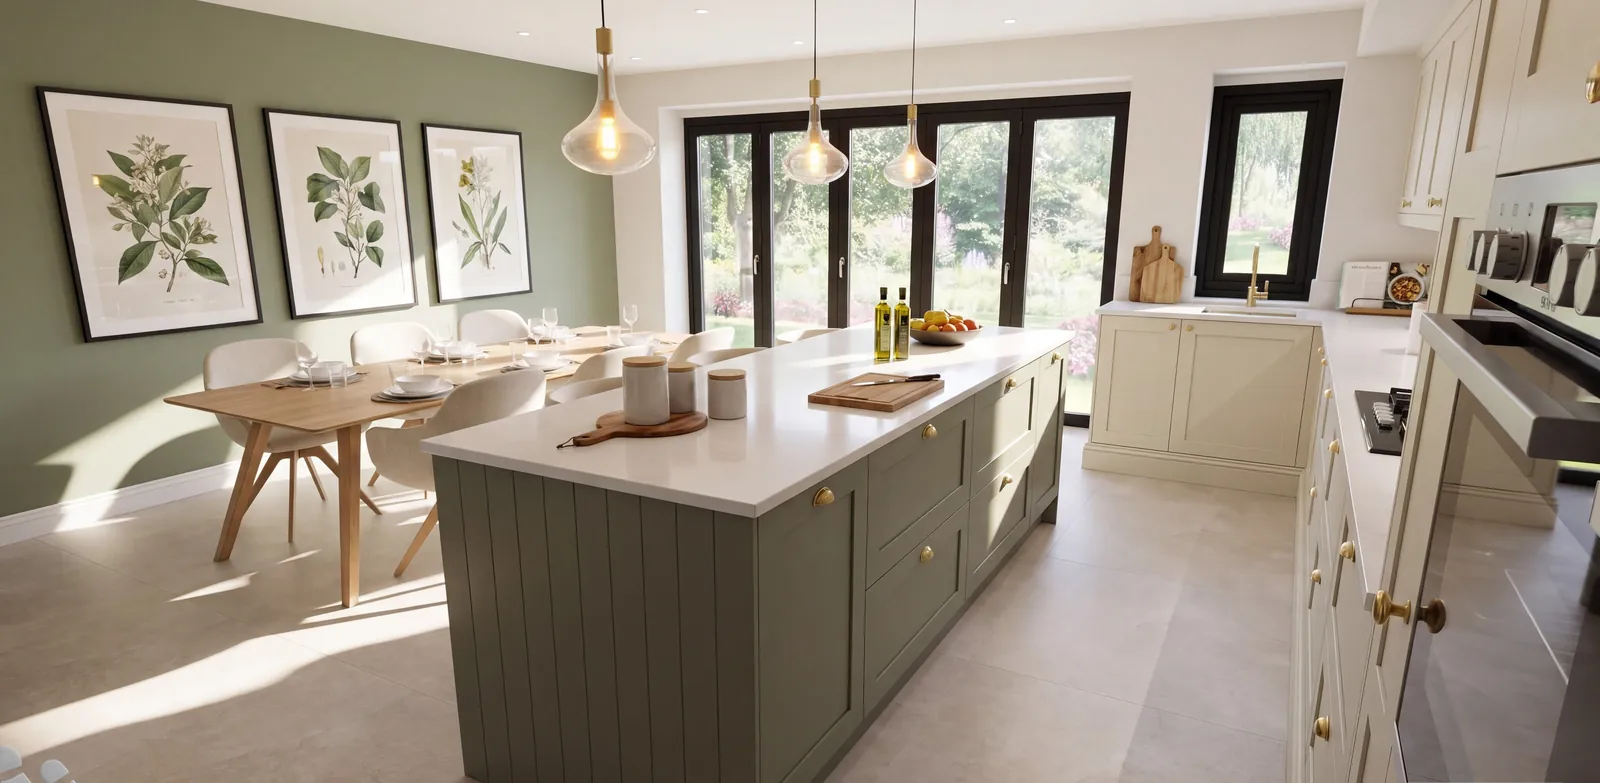
Stools shown neatly beneath a worktop can make seating look almost invisible on a plan. People do not stay tucked beneath the worktop. Allow for someone sitting down, moving the stool and walking behind it where that is part of the room’s circulation.
Think about who will use the seating and how often. A place for a quick coffee has different demands from the main eating space for a family. If a dining table is nearby, ask whether both seating areas add enough value to justify their space.
Judge the island within the whole room
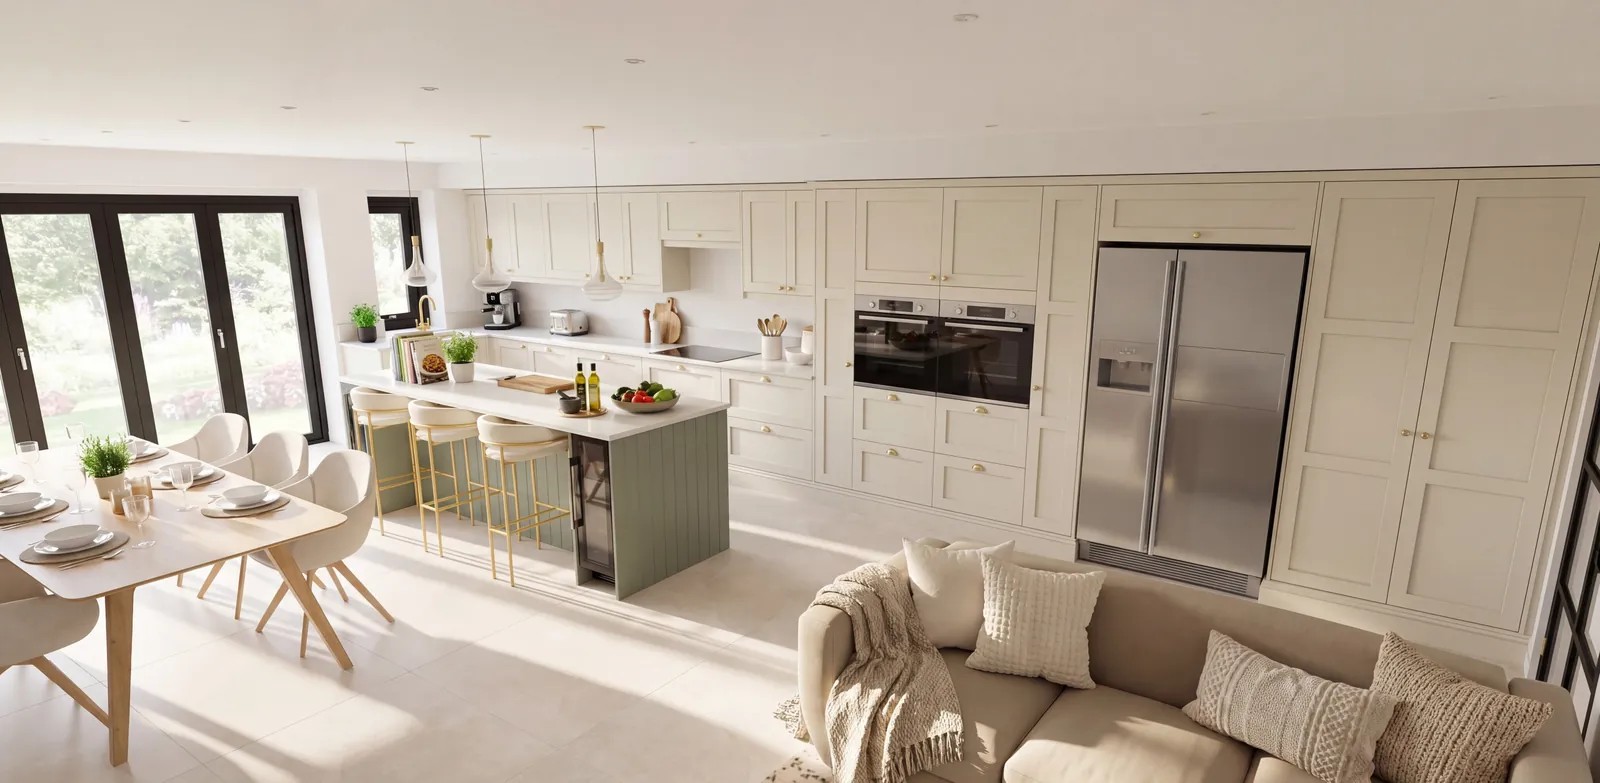
In an open-plan room, the island may sit between cooking and living areas. It needs to work from both sides. Consider the view from the sofa, the relationship with the dining table and access to garden doors.
A detailed render helps you understand those proportions. It can show whether tall cabinets dominate one side of the room, whether an island feels too heavy or whether the kitchen and dining area look connected.
The render supports the discussion, while measured drawings and site checks establish the practical detail. Both have a role in reaching a design you can move forward with.
Consider a peninsula as well
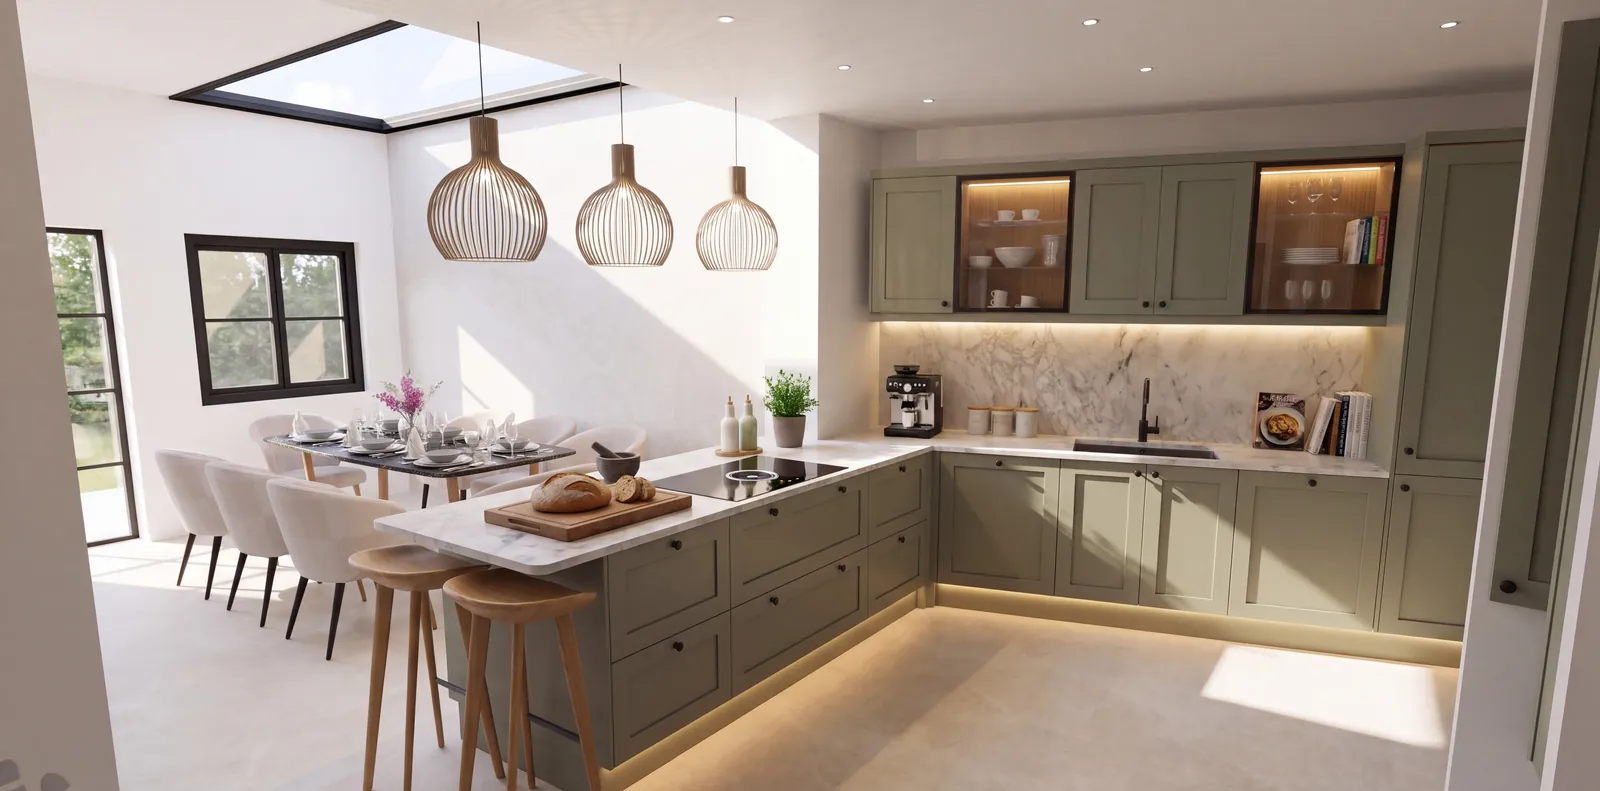
If an island creates too many compromises, a peninsula may deserve a place in the discussion. By connecting to the main cabinetry or a wall, it changes how the room is divided and where people move.
It can provide additional worktop or seating in some layouts, but it can also close off a route. Compare the alternatives against the same priorities: storage, preparation, comfortable movement and the way the kitchen joins the rest of the home.
Try the idea away from the screen
Where practical, mark the proposed island footprint on the floor. Use it to discuss the layout with your fitter and to picture everyday activities around it. This does not replace measured checks, but it can help make an abstract plan easier to understand.
Allow for the full proposed worktop and seating arrangement, rather than marking only the base cabinets. Small differences in the footprint can change how the space feels.
Develop the right island for your kitchen
Our DIY Kitchens design service helps you consider the island as part of a complete layout. Our former DIY Kitchens planning experience informs the cabinet choices, while renders help you see the proposal.
Browse the design gallery for different approaches, or request a free initial phone conversation to talk through your room. The goal is a kitchen that works for you, whether the final answer includes an island or another arrangement.